# Materials
# Modify Materials

Modify, rename, copy, paint, and replace materials of selected components.
No need to navigate through component properties and type parameters to reach the material editor — greatly improving material editing efficiency.
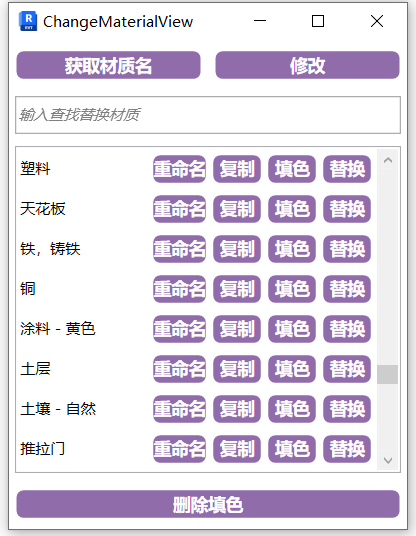
- Parameter Details
- Get Material Name:
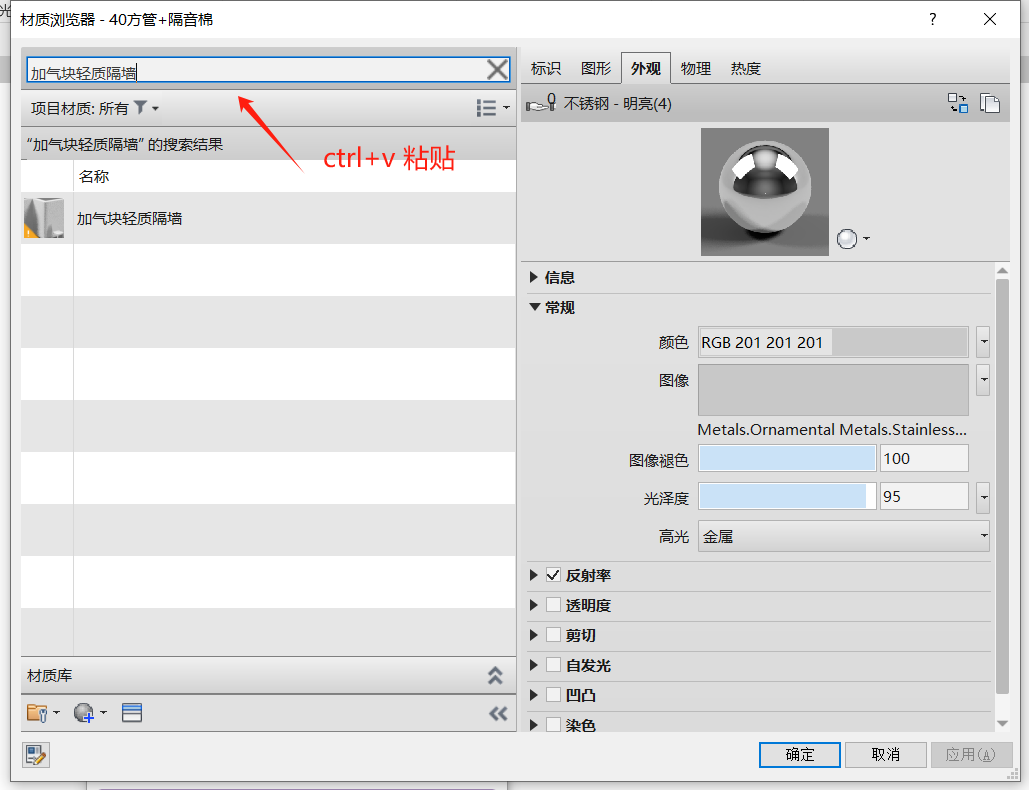
Directly pick the material name of the corresponding object. The material name is saved to the clipboard for quick lookup in the Enscape material panel.
Enscape's material management panel only shows generic material types. Revit-specific material types like wood, tile, metal, etc. are not recognized. If you can't find a material in the Enscape panel, click Modify and use the native material editor.
- Modify:
Click Modify, then click the corresponding component to bring up the material editor. Search quickly using the material name (already in clipboard — just paste to search).
- Rename:
Quickly rename the corresponding material type name without opening the material editor.
- Reset Appearance:
Replace non-default material appearances with default material appearances, facilitating material modification in Enscape.
- Copy:
Copy the current material without opening the material editor.
- Paint:
Paint the selected face of the component with a material based on the known material name.
- Replace:
Replace the component's existing material with the selected material. When replacing, if a custom family has multiple material parameters but no preset material, all will be replaced with one material type.
- Remove Paint:
Remove the paint material attached to the model surface.
Watch tutorial video on Bilibili → Modify Materials (opens new window)
# Replace Fill Pattern
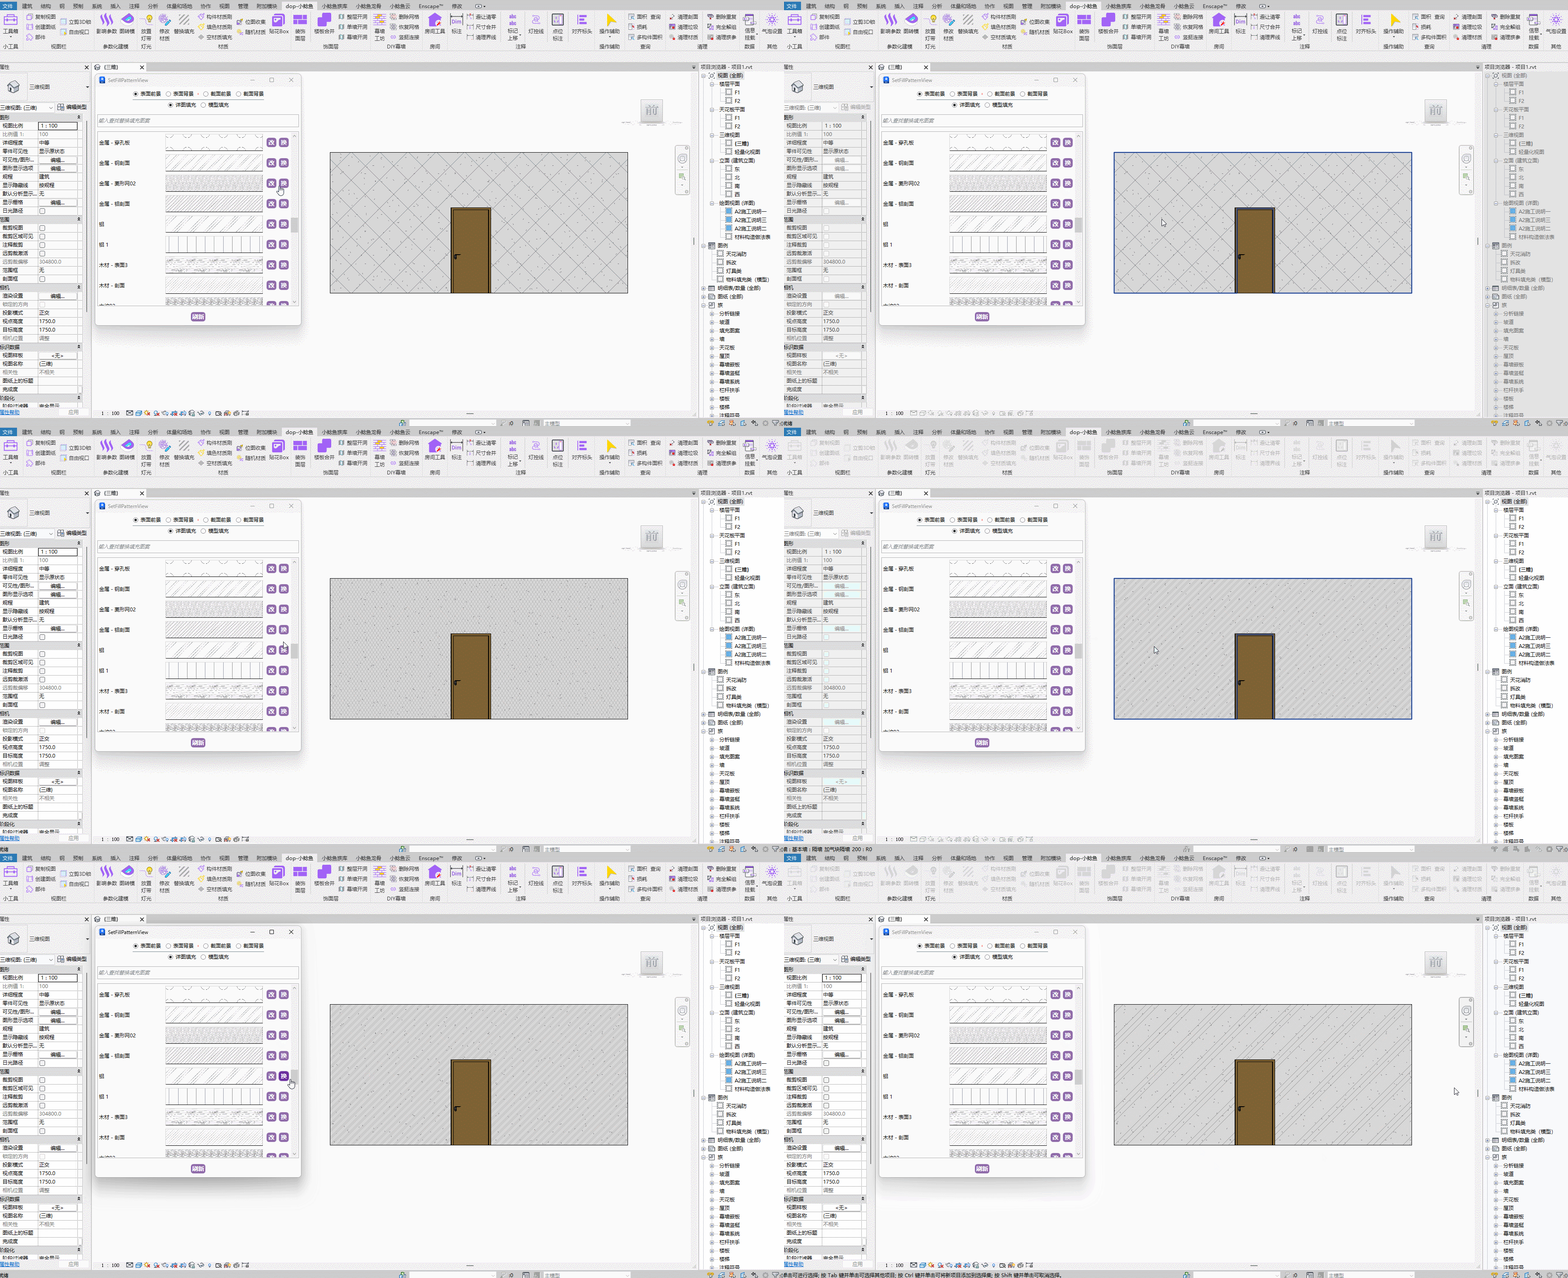
Replace the fill pattern of selected component face materials. Note that the first load takes a few seconds, but subsequent uses are fast.
Watch tutorial video on Bilibili → Replace Fill Pattern (opens new window)
# Component Material Matcher

Apply the material from a picked component to another component. Similar to Revit's MA (Match Type Properties) command.
Click the function, click the model whose material you want to sample, then click the model you want to apply it to. (Works better with a shortcut key.)
# Paint Material Matcher

Apply the material from a picked component to an individual face of another component.
Similar to the Component Material Matcher, but only affects the selected surface material of the component.
Watch tutorial video on Bilibili → Component & Paint Material Matcher (opens new window)
# Empty Material Fill

Randomly assign materials to components with empty or default materials in the project for differentiation. Random materials display random colors in color display mode, making it easy to find unassigned components and assign materials.
Watch tutorial video on Bilibili → Empty Material Fill (opens new window)
# Bitmap Collection

Collect and organize texture files used in project materials, effectively preventing texture loss during project transfer.
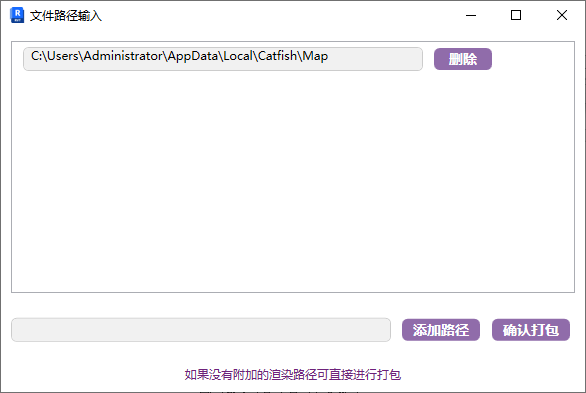
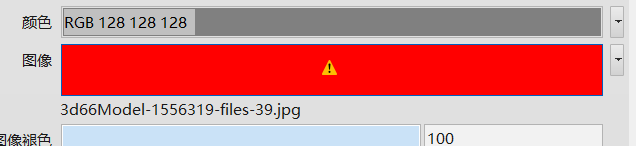
When a material shows a red icon in the project, it means the software can no longer find the texture path.
At this point, add possible paths. During packaging, lost paths will be searched from the added paths. Multiple paths are searched in order.
Note: Save the project before using Bitmap Collection.
Watch tutorial video on Bilibili → Bitmap Collection (opens new window)
# Random Material
Randomly assign instance materials to selected components.
Select the components that need random materials first, then use the random command.
Note: The material parameter must be an instance parameter.

Watch tutorial video on Bilibili → Random Material (opens new window)
# Decal Box

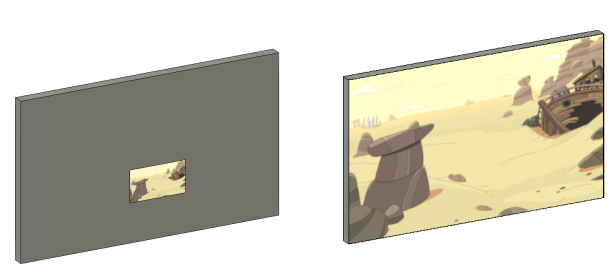
Automatically match decal size to the placement surface.
- Steps
Click the surface where the decal is placed, then click the decal on the surface. The decal will be matched to fit the surface size.
Can be operated continuously.
Watch tutorial video on Bilibili → Decal Box (opens new window)