# Annotation
# Dimensioning

Bilibili video demo → Dimensioning (opens new window)
One-click annotation for drawings: dimension annotation, material annotation, elevation annotation.
When dimensioning, always pay attention to internal and external dimensions, because secondary generation will clear previous same-type annotations.
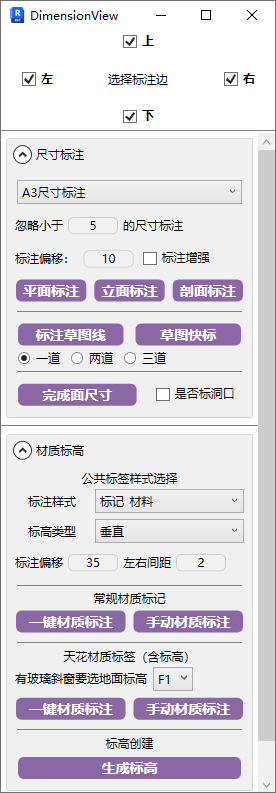
- Parameter Explanation
All annotation functions are based on the crop view boundary feature, so adjust the view boundary to the appropriate position before use.
- Select Annotation Edge: Determines which orientation edges to annotate.
- Dimensions smaller than the set ignore value will be ignored. Annotation offset is the offset distance from the crop boundary.
When annotating, first enable the view crop boundary and adjust it to the appropriate position.
# Special Line Type

Add different symbols/text to lines to distinguish line types.
- Parameter Explanation
Text Content: The text to display within the line segment.
- Steps
- Click the function, enter text content, click Create.
- Select drawing method and line style, draw in the view (cannot create in 3D viewport).
- After creation, press Esc twice to exit and generate the special line type.
Note: The first creation in a project has a delay; subsequent creations will sync and supplement.

Bilibili video demo → Special Line Type (opens new window)
# Plan Dimensioning
Applicable to linked models.

Determine the annotation type to use, set ignore and offset values, then click the function in the target view to generate. Click repeatedly to regenerate.
# Elevation Dimensioning
Same operation as above; you can select the desired annotation edges.
When doing elevation dimensioning, pay attention to ignoring minimum value annotations to avoid overly fragmented dimensions.
Due to the diversity of elevation views, annotations may not be perfect — manually adjust after generation if needed.
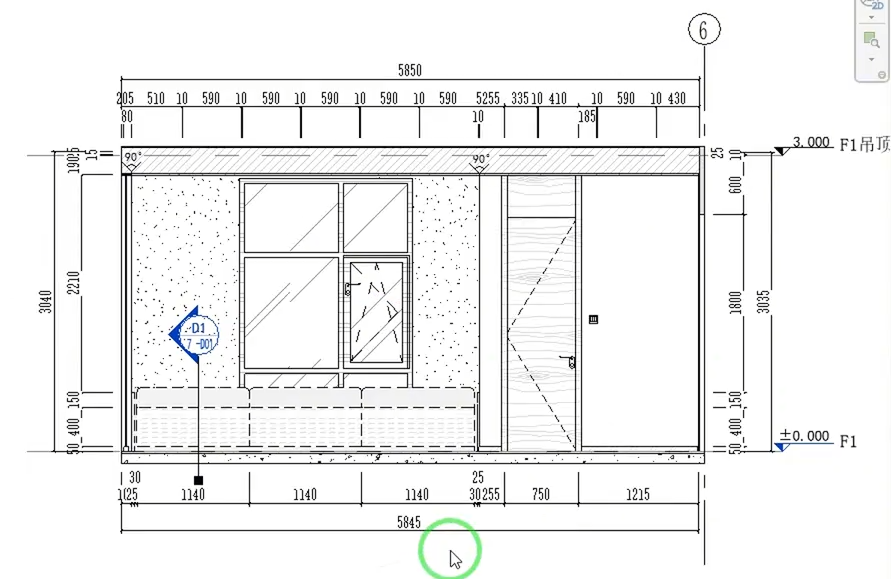
# Section Dimensioning

Can be applied to irregular structural section dimensioning. Enhanced annotation parameters can be added to also annotate points on sloped surfaces.
Enhanced annotation is a difference in annotation algorithm. Enable it when conventional methods aren't ideal.
# Sketch Quick Dimensioning
Click "Annotate Sketch Line" and draw where annotation is needed, then press Esc to exit sketch mode (drawn sketch lines should extend beyond the area to be annotated). After completion, click "Sketch Quick Dimensioning," select the drawn line, then click the placement location to generate. You can check the function below the sketch line to generate multi-layer annotations at once.

When drawing sketch lines, you can draw all annotation areas in one view at once, then pick to generate. Drawn sketch lines must be perpendicular to the reference edges of the objects being annotated.
# Marquee Quick Dimensioning
Quick dimensioning using rectangular marquee selection. Imagine the marquee as a line — place it wherever dimensions are needed.
Steps: Draw a long marquee where annotation is needed → Repeat annotation.
The annotation position is the midline along the long direction of the marquee.
Bilibili video demo → Marquee Quick Dimensioning (opens new window)
# Finished Surface Dimensions
Before using the tool, create rooms in the current view using batch room creation RM.
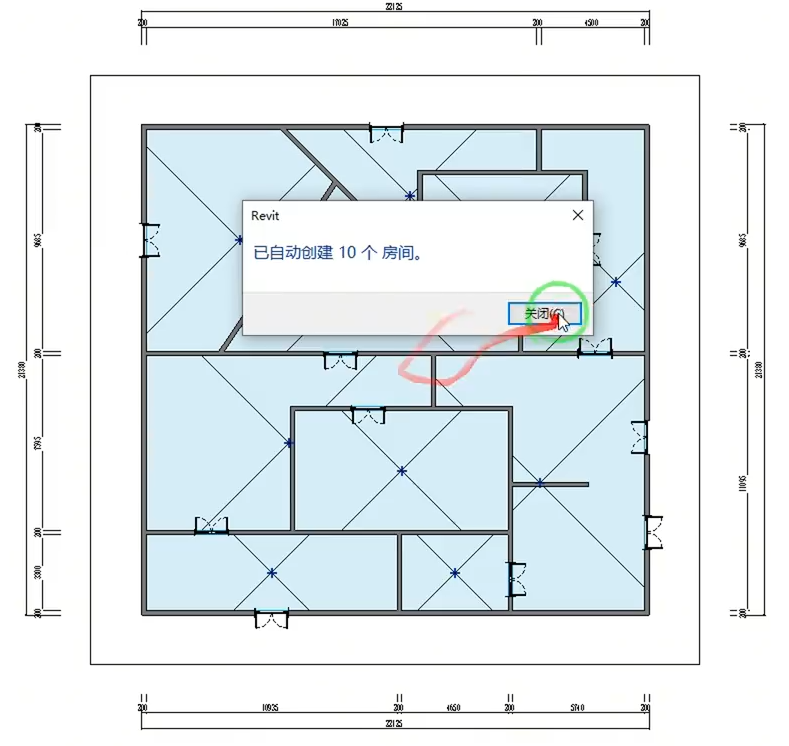
Choose whether to annotate openings.

Can be used to annotate partition wall dimension drawings and finished surface dimension drawings. Pay attention to internal/external dimension type differentiation.
# Demolition/Construction Dimensioning
Bilibili video demo → Dimensioning (opens new window)
# Light Fixture Positioning
When marquee-selecting, only select fixtures on a single line.

Bilibili video demo → Dimensioning (opens new window)
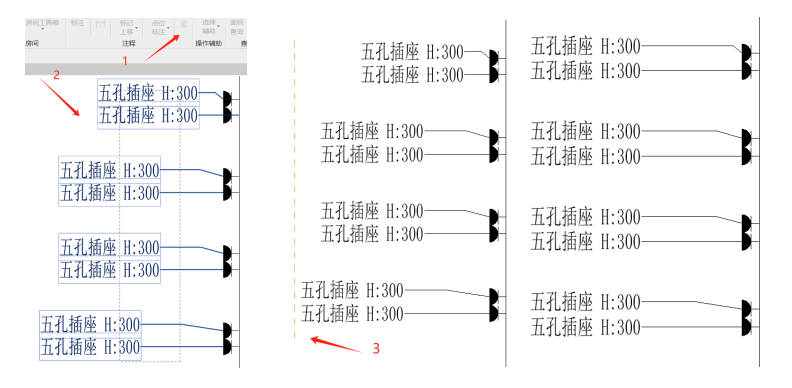
# Switch & Outlet
Ensure switch/outlet types are Electrical Fixtures.
When marquee-selecting, only select switches/outlets on a single line.

Bilibili video demo → Dimensioning (opens new window)
# Index Map
The two values to fill in for top/bottom/left/right in the parameters correspond to the X and Y axes of the drawing. Adjust the leader endpoint offset compensation based on your elevation symbol size. Parameters are set once and saved; no need to set again for subsequent uses.
Bilibili video demo → Dimensioning (opens new window)
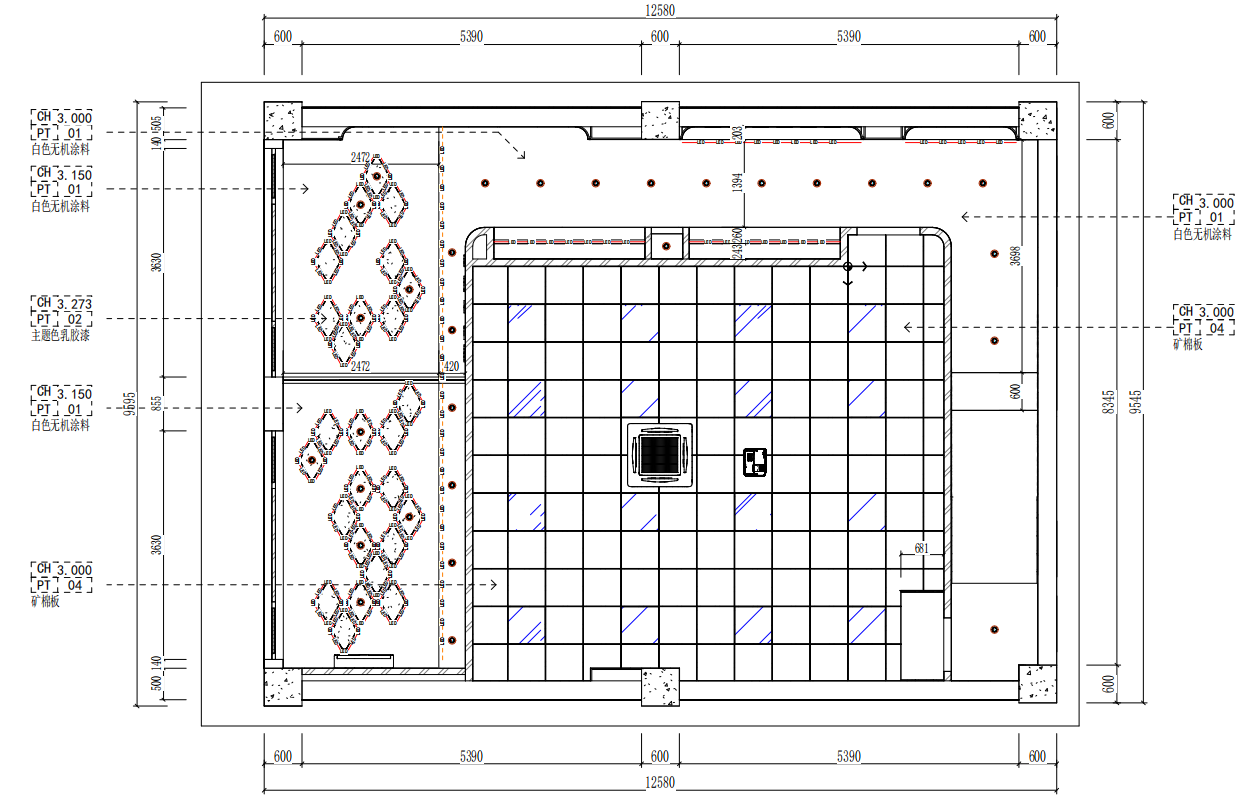
# Regular Material Annotation
Layout modes include four-direction quadrant diagonal layout and top/bottom vertical layout. Switch between them in the window. When the single-side count reaches a certain number, it arranges in two columns to save space.
You can choose the software's built-in tag head style or your own style.
Tagging is divided into One-Click Material Annotation and Manual Material Annotation.
One-click annotation automatically annotates and arranges based on the component's own materials in the view. If supplementation is needed, use manual annotation. New annotations will re-layout based on the previous arrangement.

Set annotation offset distance and orientation according to your habits.
After using manual supplementary annotation, do not use one-click annotation again — it will clear all previous annotations before regenerating.
When creating floor material drawings, it's recommended to create floor slabs by room for easy one-click material recognition.
Bilibili video demo → Manual Quick Annotation Notes (opens new window)
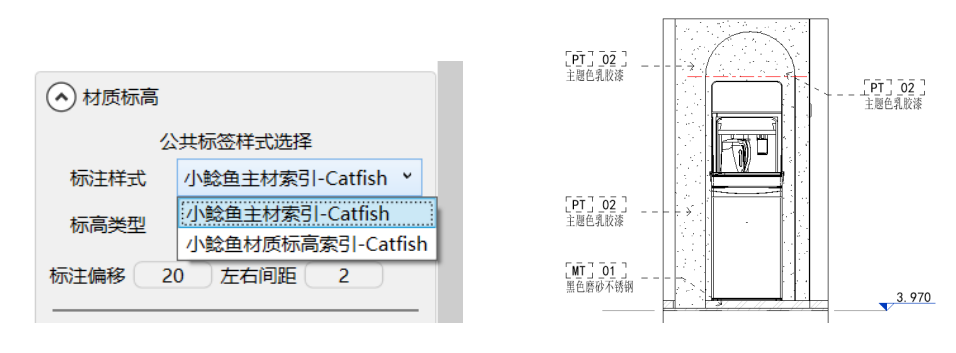
# Ceiling Material Annotation
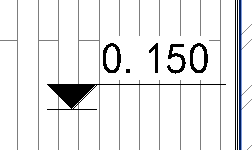
When creating levels in the ceiling plan, both "Annotation Style" and "Level Type" are used simultaneously.
For level type selection, use only annotation text without a tag head (create your own type).
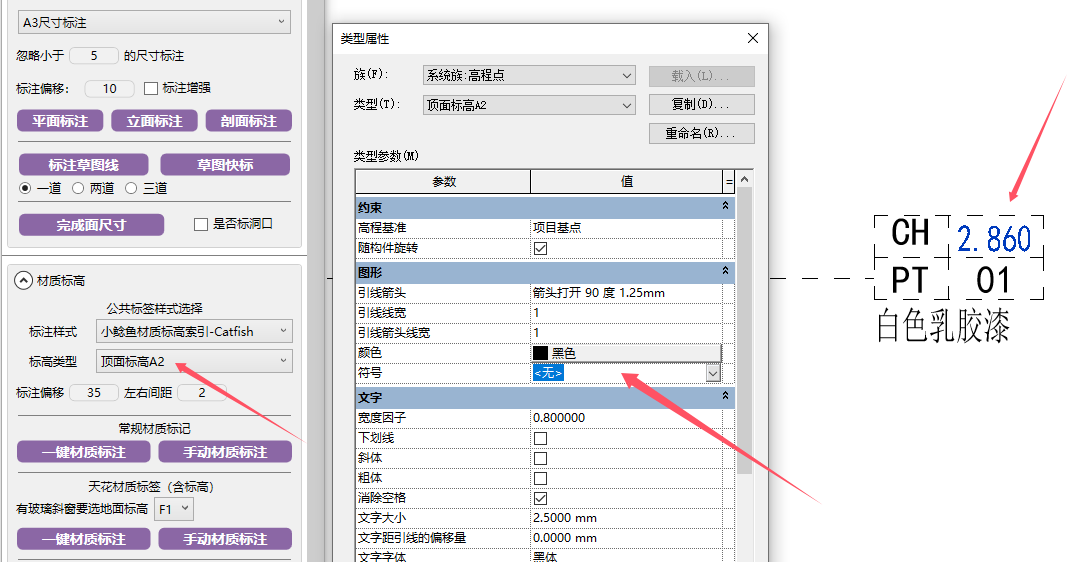
When annotating panels in sloped glazing, pay attention to selecting the floor relative level. Due to software limitations, sloped glazing panels cannot be annotated directly; the plugin recognizes and fills them in.
Ceiling annotation level text offset issues have been tested — versions 2018 and 2020 have problems. It's recommended to use other versions.
Other components are not affected by this parameter.
When creating ceiling drawings, it's recommended to create floor slab ceilings by room for easy one-click material recognition.
Bilibili video demo → Ceiling Material Annotation (opens new window)
Bilibili video demo → Ceiling Material Level Creation Notes (opens new window)
# Level Creation
Level creation is related to components. It's recommended to create floor slabs by room.
# Collision Avoidance & Zero Clear

Perform number collision avoidance for crowded annotations and clear zero-value annotations.
This operates on all dimensions in the entire view. It's recommended to do this after annotation is complete.
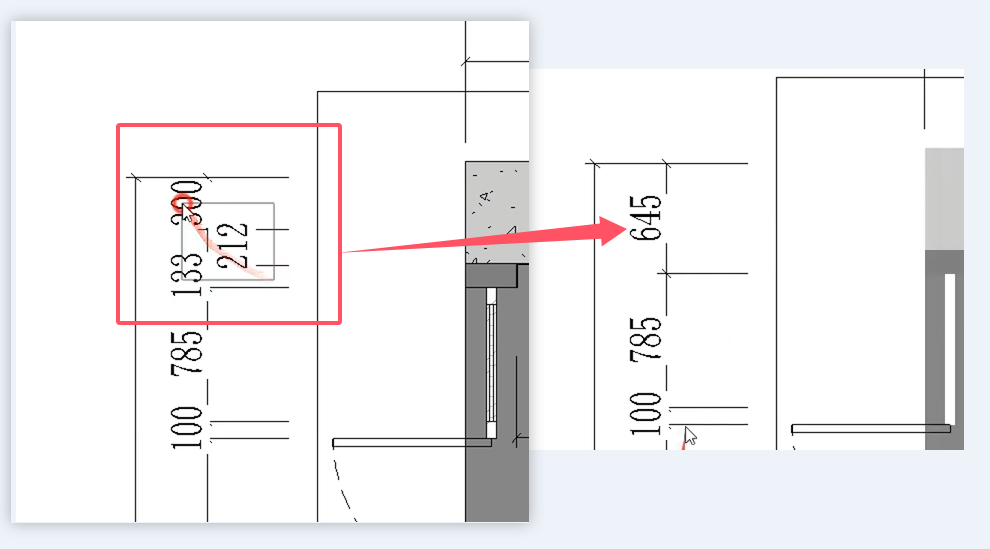
# Dimension Merge

Click the function, select the dimensions to merge, then click the placement orientation.

# Marquee Merge
Marquee-select the area where dimensions need merging to merge the currently selected dimension parts into one.
Note: Only marquee-select a single dimension line.
Bilibili video demo → Collision Avoidance & Zero Clear, Dimension Merge, Marquee Merge (opens new window)
# Tag Move Up

For batch family tags, move tags above families to avoid tag-family overlap.

# Tag Collision Avoidance

If tags are too crowded, use collision avoidance to spread them out.
Bilibili video demo → Tag Move Up, Tag Collision Avoidance (opens new window)
# Lighting Control Line
First selection: lighting fixture families, marquee-select multiple times, Esc to end. Second selection: non-lighting fixture families, click multiple times, Esc to end. Third selection: switch.
# Point Annotation

- Parameter Explanation
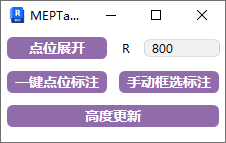
- R groups and arranges points in the drawing by radius, meaning points within the corresponding radius circle are grouped together for annotation layout.
# Point Annotation / Manual Marquee
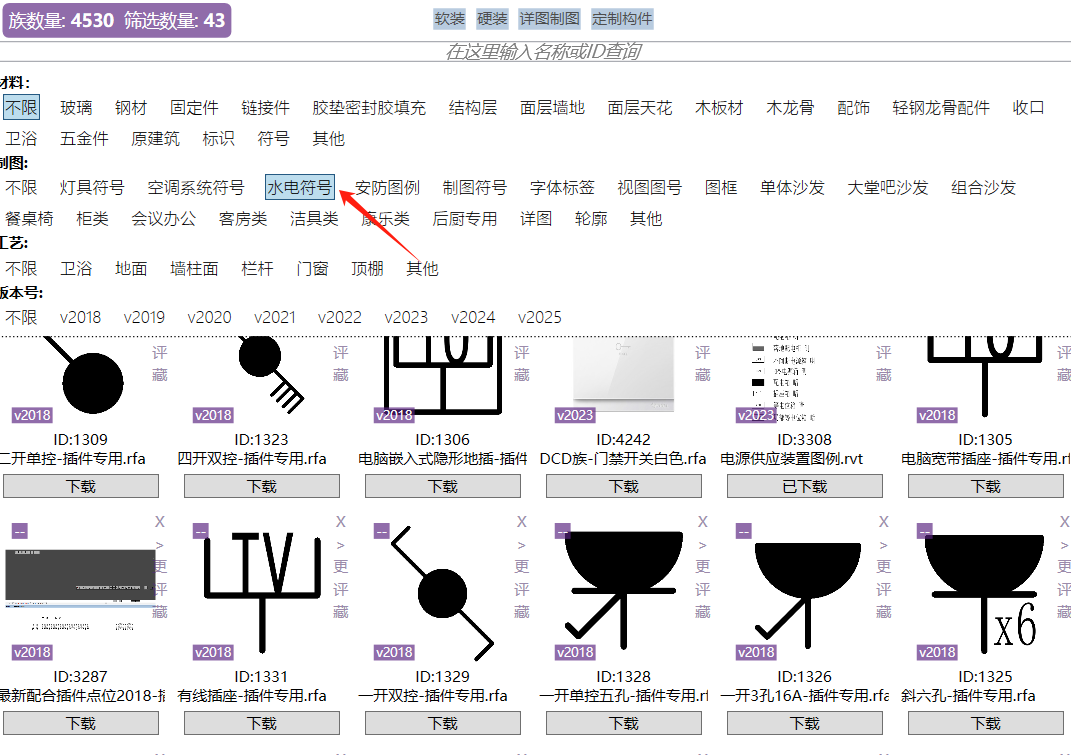
One-click expand and annotate generated switch point annotations. The switch points here must use Catfish-specific families to take effect. Models are already uploaded in the family library.
You can also manually marquee-select for supplementary annotation.
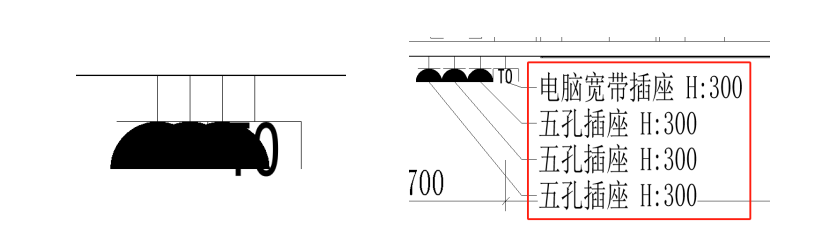
# Point Expansion

Only expands and arranges the annotation symbols of switch points, without affecting the placement of MEP point models.
Only applicable to Catfish-specific outlet switches.
Bilibili video demo → Point Annotation, Point Expansion (opens new window)
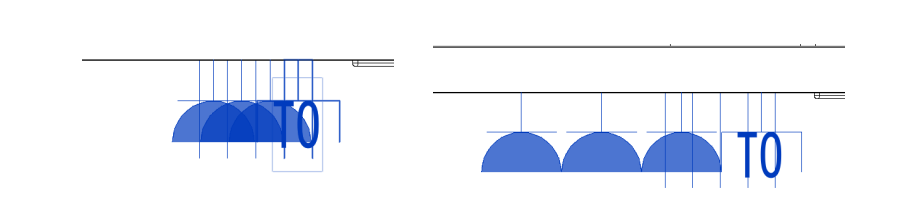
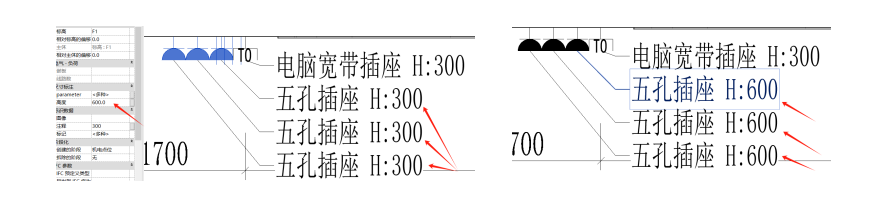
# Height Update

Update the height values of annotations based on adjusted switch point heights.
# Position Adjustment

Synchronously move point annotations that need adjustment without affecting the original ordering.
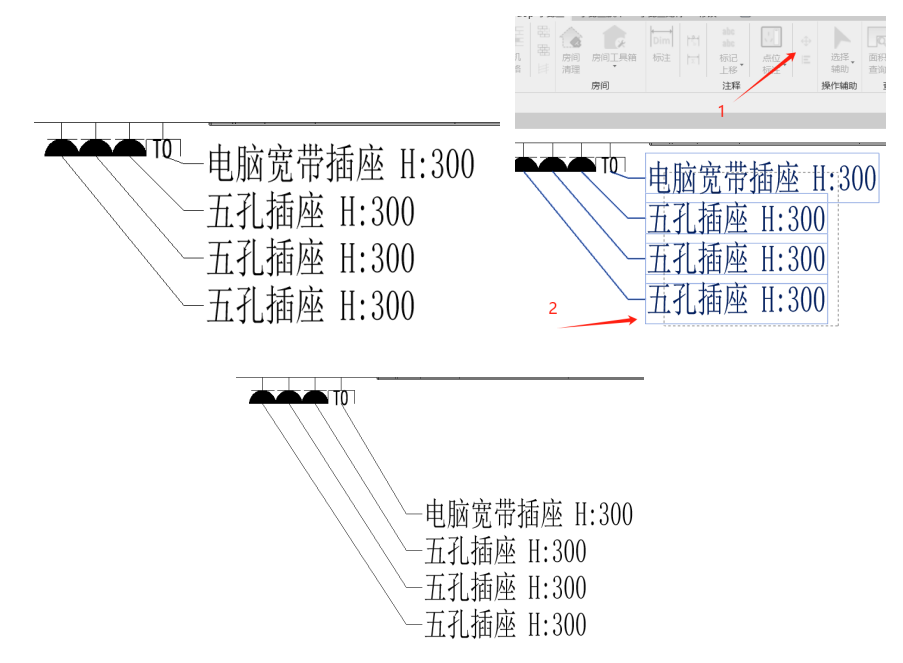
Bilibili video demo → Height Update, Position Adjustment (opens new window)
# One-Click Point Annotation
One-click annotate all points on both sides of the view.
# Manual Marquee Placement
Steps: Marquee-select points to annotate → Click the placement orientation for the annotation.
Bilibili video demo → One-Click Point Annotation, Manual Marquee Placement (opens new window)
# Align Tag Heads

Align annotation tag heads using drawn lines.
After executing the annotation offset function, first select the target annotation set. Once the cursor becomes a crosshair, draw the reference line at the desired position, then press Esc to exit.
Note: The offset function only works when the selected annotations are in the same direction group.
Bilibili video demo → Align Tag Heads (opens new window)