# Finish Layers
# Decorative Finish Layers

Create decorative finish layers: walls, ceilings, floors, thresholds, roofs.
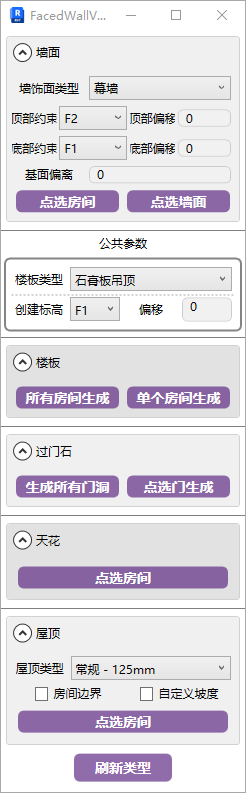
- Parameter Details
- Wall
Set the corresponding parameters and click a room to quickly generate decorative finish layers.
In practice, prioritize generating the finish type with the largest area in a room first, then modify local finishes as needed. You can also generate by picking wall surfaces.
If exterior dimension annotations already exist, generating finish layers will prompt about annotation deletion. Delete them and regenerate after finish layers are complete. So consider annotating exterior dimensions after finish layers are done.
# Simulated Stacked Wall
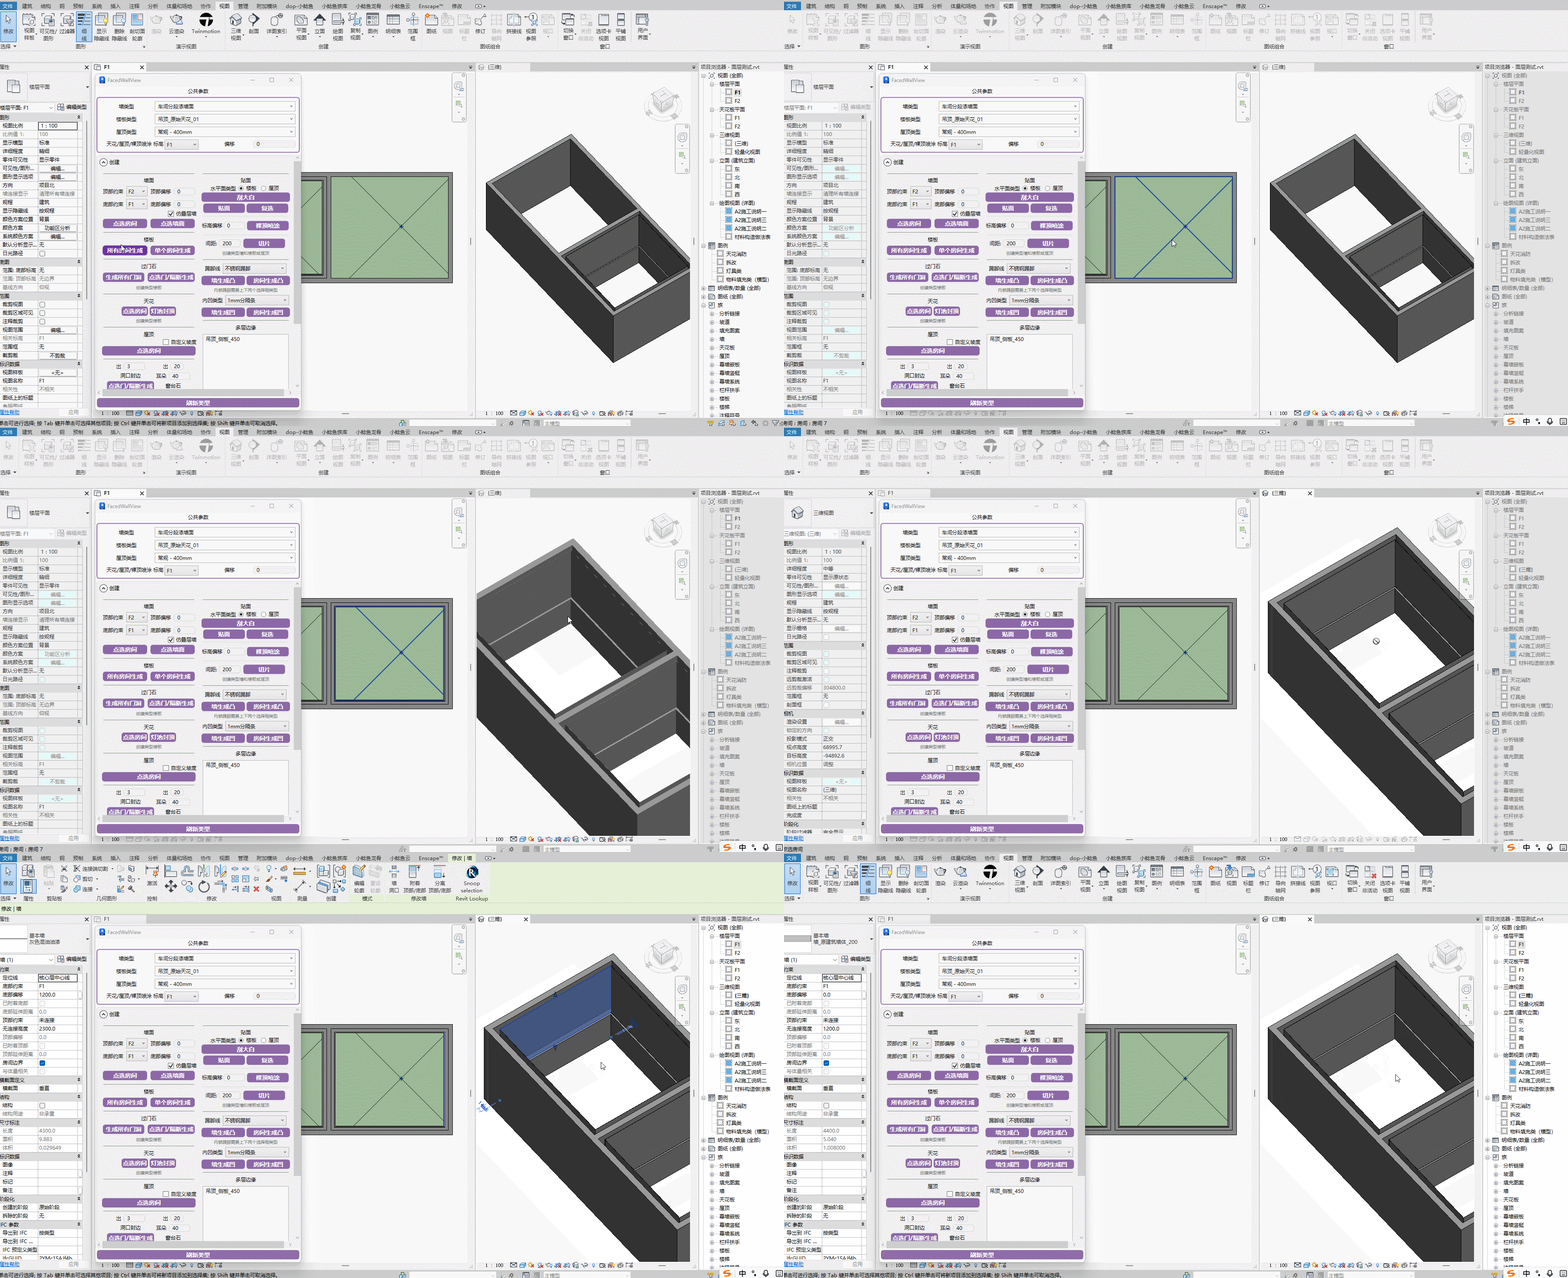
Select a stacked wall type, check "Simulated Stacked Wall", and finish layers will be created based on the stacked wall structure using base wall combinations.
Watch tutorial video on Bilibili → Simulated Stacked Wall (opens new window)
- Common Parameters
The common parameters section applies to the function buttons below the window.
- Floor
For floor generation, it's also recommended to generate the most used type first, then manually replace types for the small remainder.
- Threshold
Threshold generation is recommended after generating the room's floor. It generates based on the floor edge lines on both sides of the opening. For exterior wall door openings, it generates from the interior floor outward by 200mm.
Pick door/partition to generate
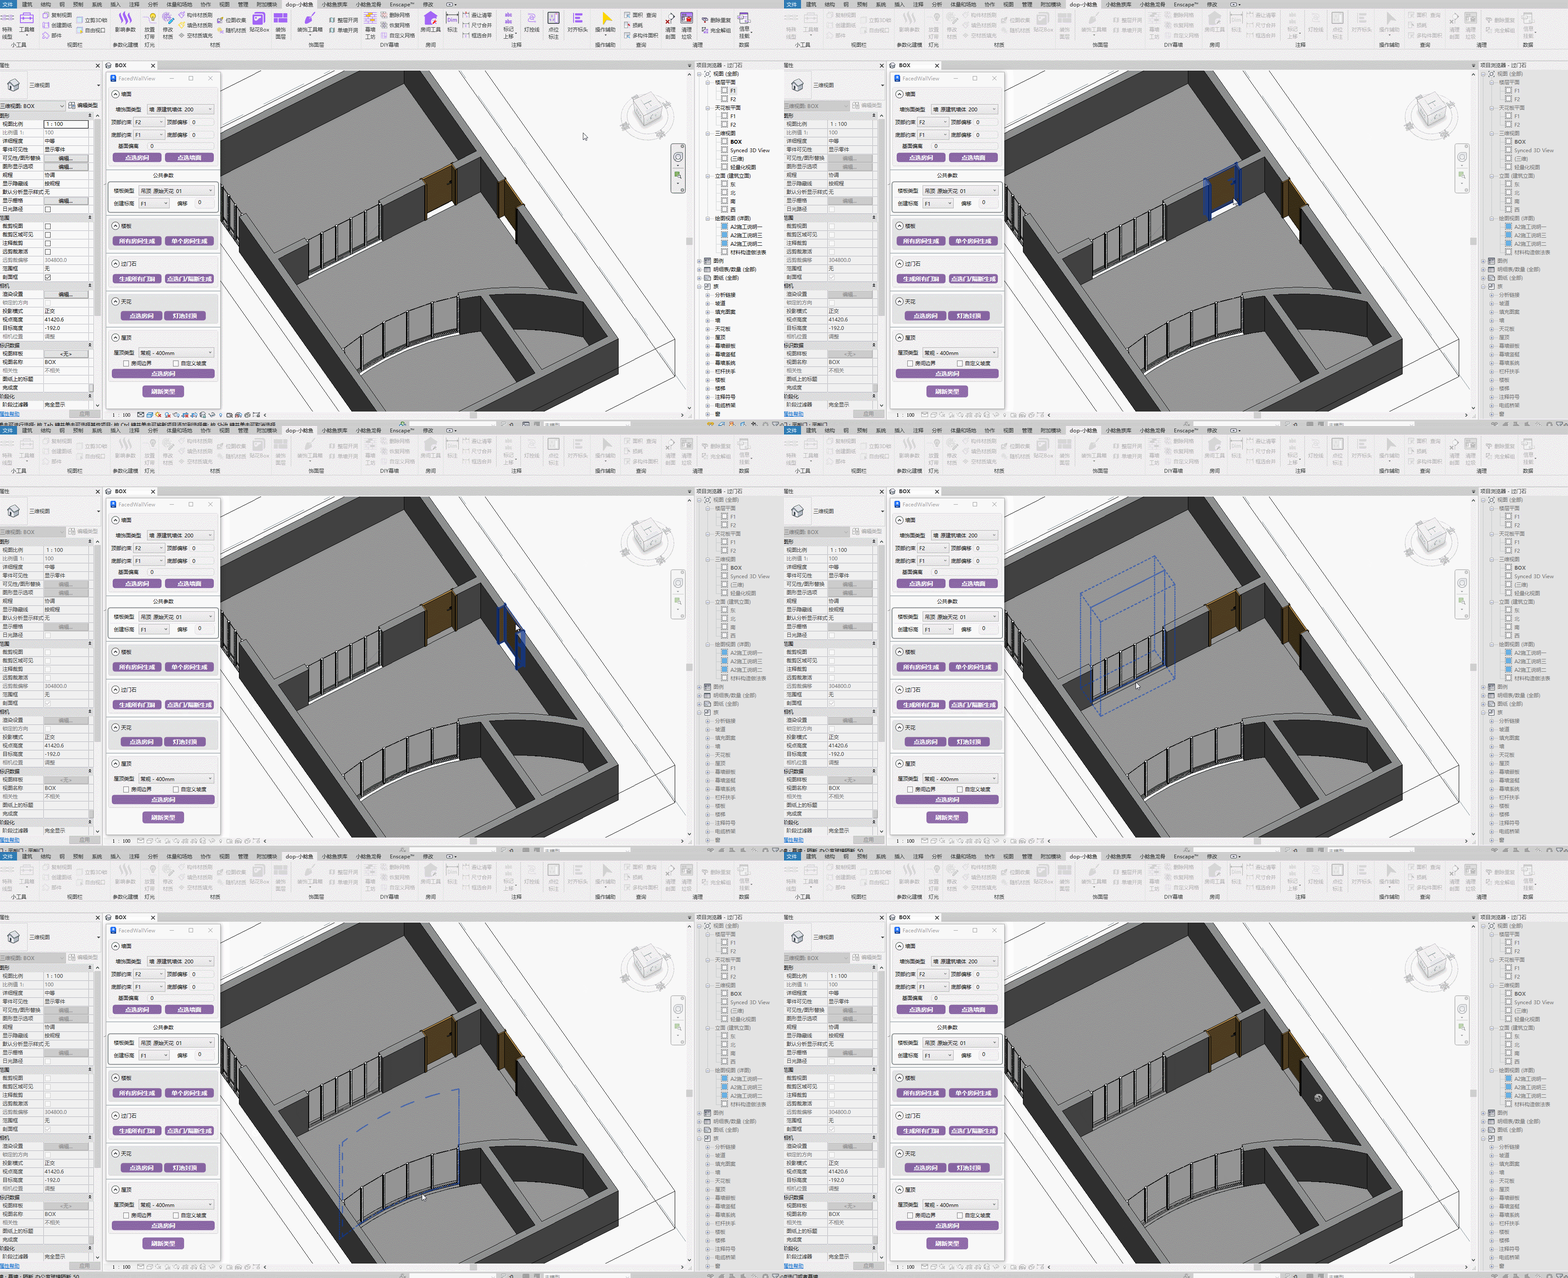
Steps: Pick a door or curtain wall partition of a cut wall.
Watch tutorial video on Bilibili → Threshold (opens new window)
- Ceiling
The ceiling here uses the floor type instead of Revit's ceiling element.
Using floor instead of ceiling has many advantages — explore on your own.
# Light Pool Capping
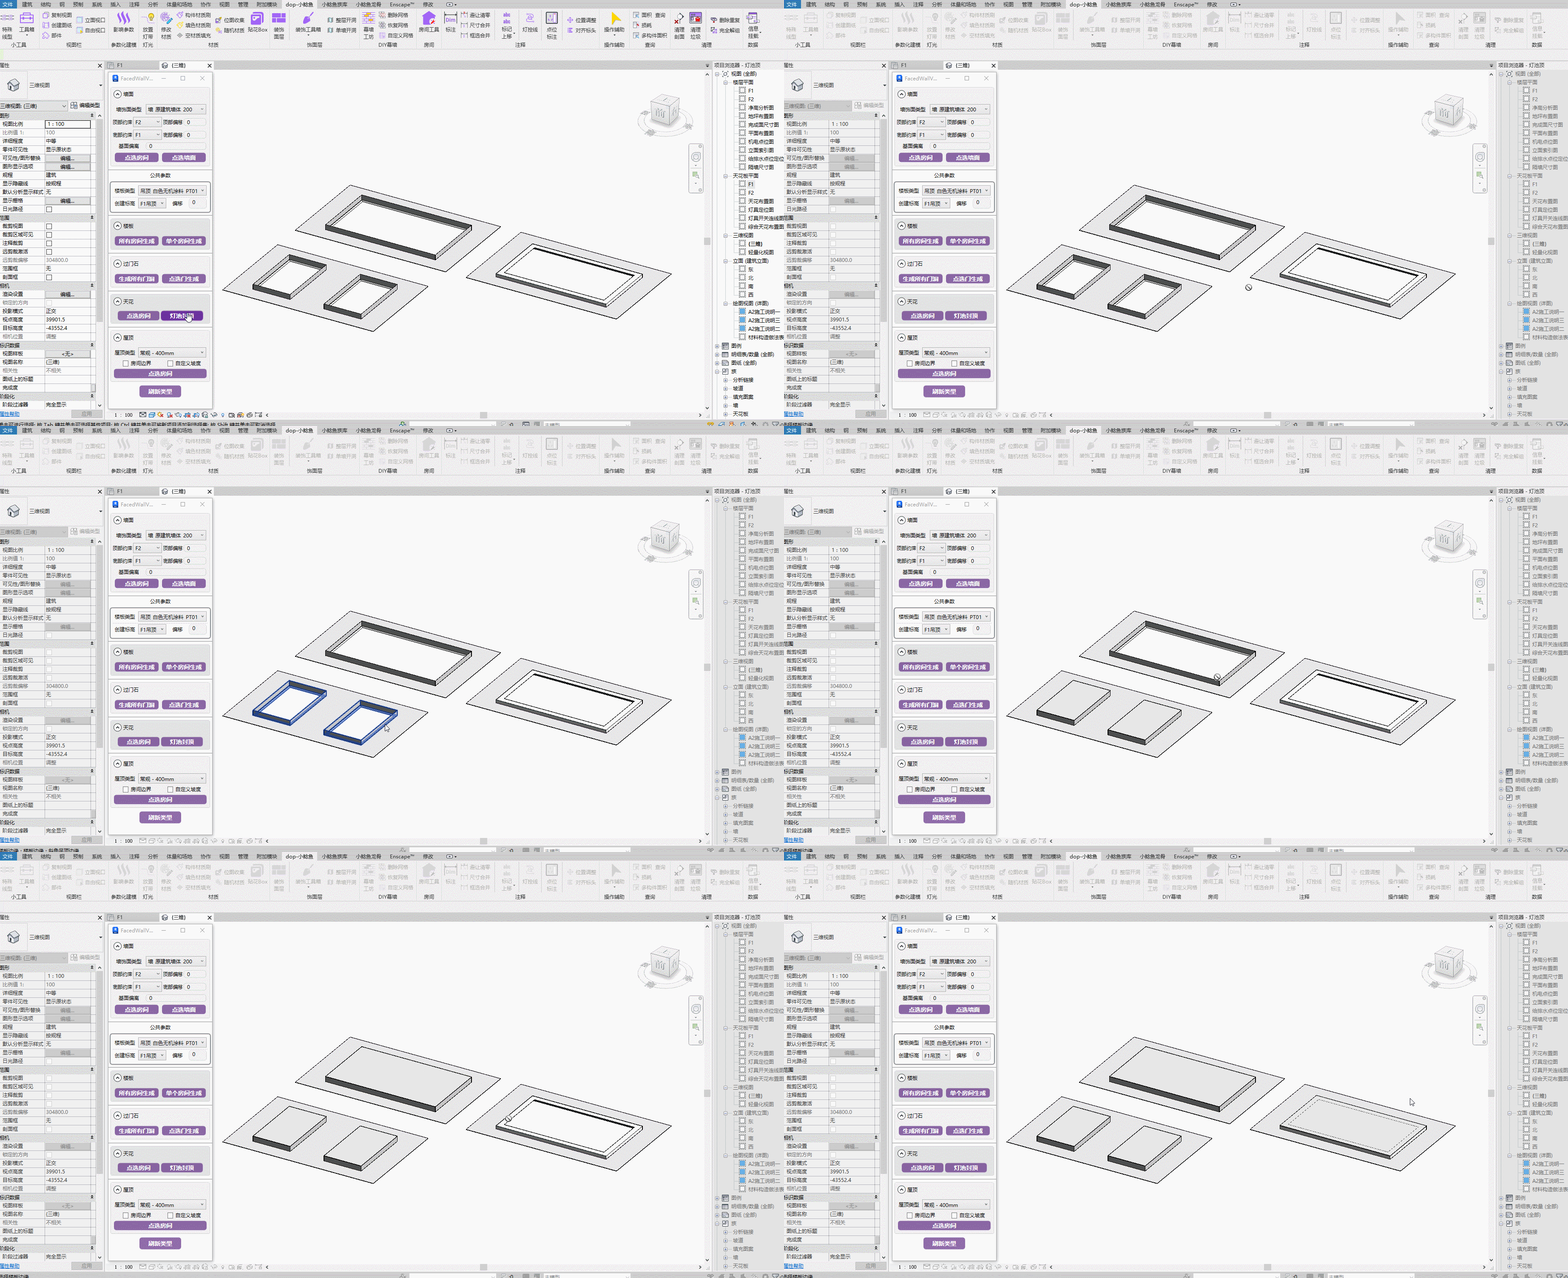
Quickly cap closed-loop floor edges. The ceiling type is the same as the ceiling creation in the common parameters section.
# Roof
If roof creation fails, manually create a random roof in the project, then delete it. After that, run the plugin command again — it should work normally.
Besides generating common mineral board and block ceiling materials, it can also be used for floor tile paving.
This uses the glass sloped glazing feature.
# Opening Edge Trim
Trim openings in doors, windows, and curtain wall partitions in base walls that lack finish layers on side panels.

The type used is the roof type from the common parameters.
If roof creation fails, manually create a random roof in the project, then delete it. After that, run the plugin command again — it should work normally.
Watch tutorial video on Bilibili → Opening Edge Trim (opens new window)
# Windowsill Stone
Create windowsill stones, compatible with window families and curtain wall openings.
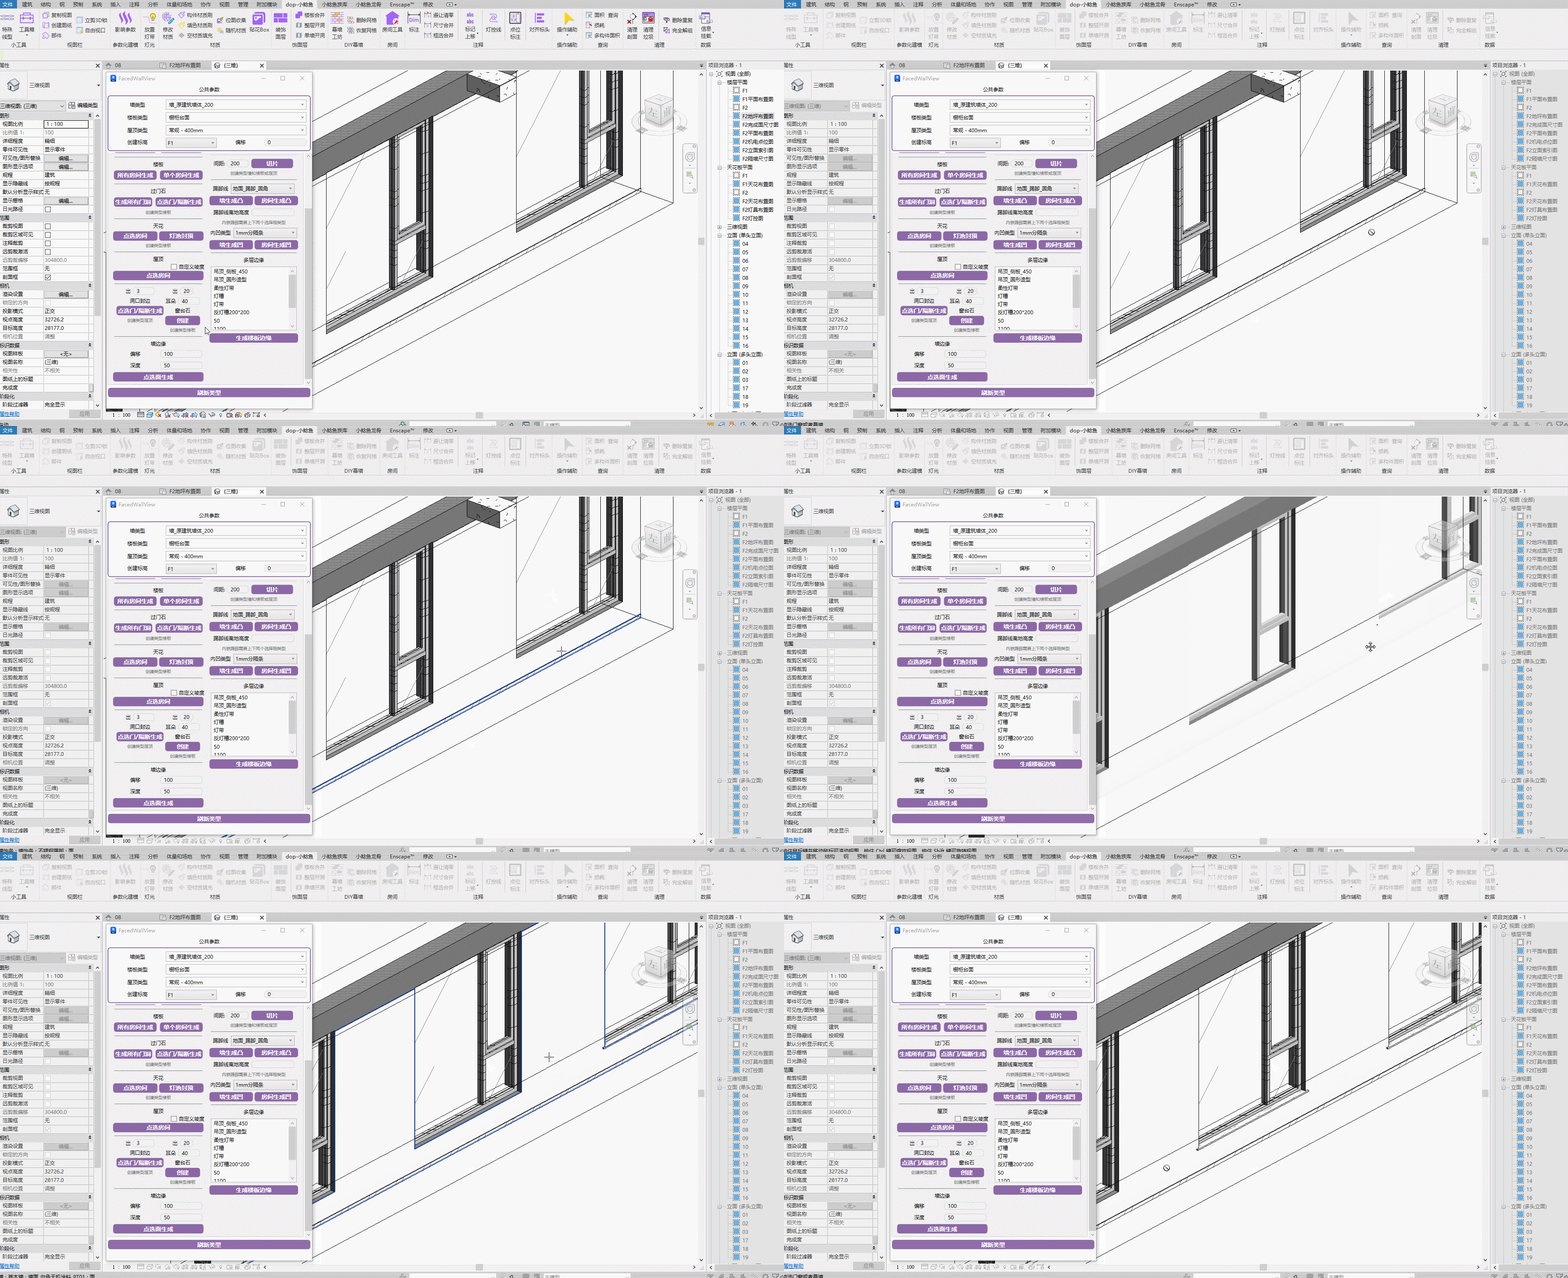
Steps: Select window or curtain wall → Select the finish surface
Ensure finish layers exist before creating.
Watch tutorial video on Bilibili → Windowsill Stone (opens new window)
- Refresh Types
When new types are created in the project, click the refresh button to ensure new types are available in the parameter options.
Watch tutorial video on Bilibili → Decorative Finish Layers (opens new window)
# Baseboard

Pick a room to generate baseboards. Supports recessed baseboard creation.
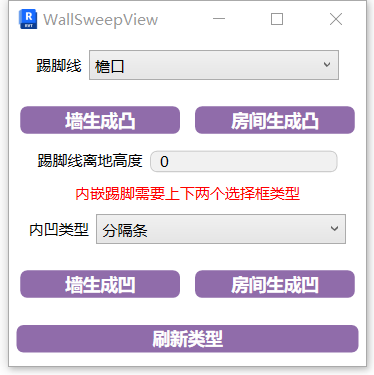
For recessed baseboards, two types are used together. A sweep cuts the wall, and a wall reveal creates the recess.
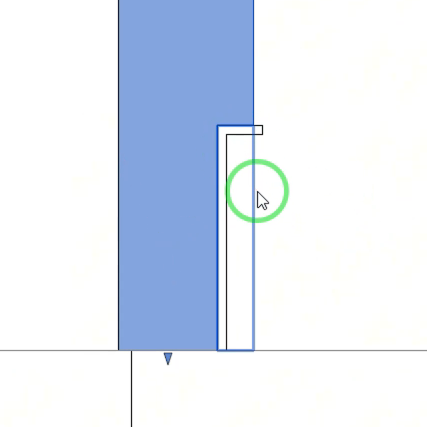
Finish layers must be created before creating baseboards!
The benefit of creating baseboards separately is that they can be hidden in plan views. If displayed directly in the wall type, they cannot be hidden.
Watch tutorial video on Bilibili → Baseboard (opens new window)
# Multi-Layer Edge

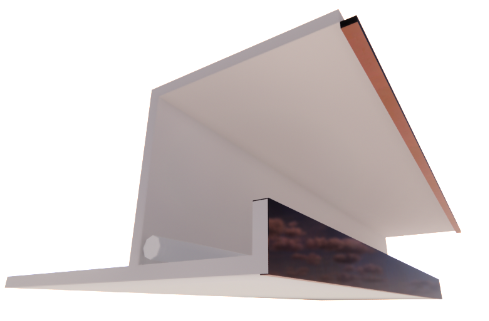
Generate multi-layer structure floor edges, mainly for multiple materials and multiple closed contours.
A single floor edge type only supports one material, so multiple types need to be assembled when multiple materials are involved.
Hold Ctrl to multi-select, Shift to select a range. After selecting, click the function, then click the edge line to place. After picking, click Finish in the upper left corner.
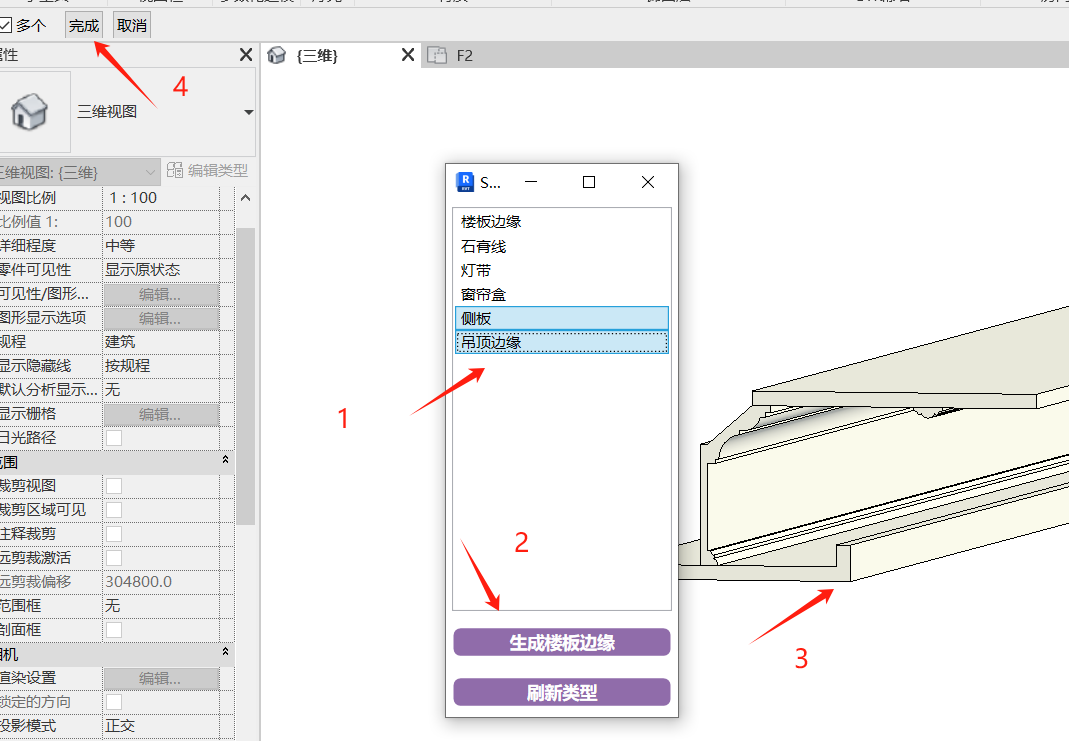
Watch tutorial video on Bilibili → Multi-Layer Edge (opens new window)
# Wall Edge

Create recessed light trough structures for wall components. Curtain walls only work on flat walls, and the wall profile must have at least one straight line.
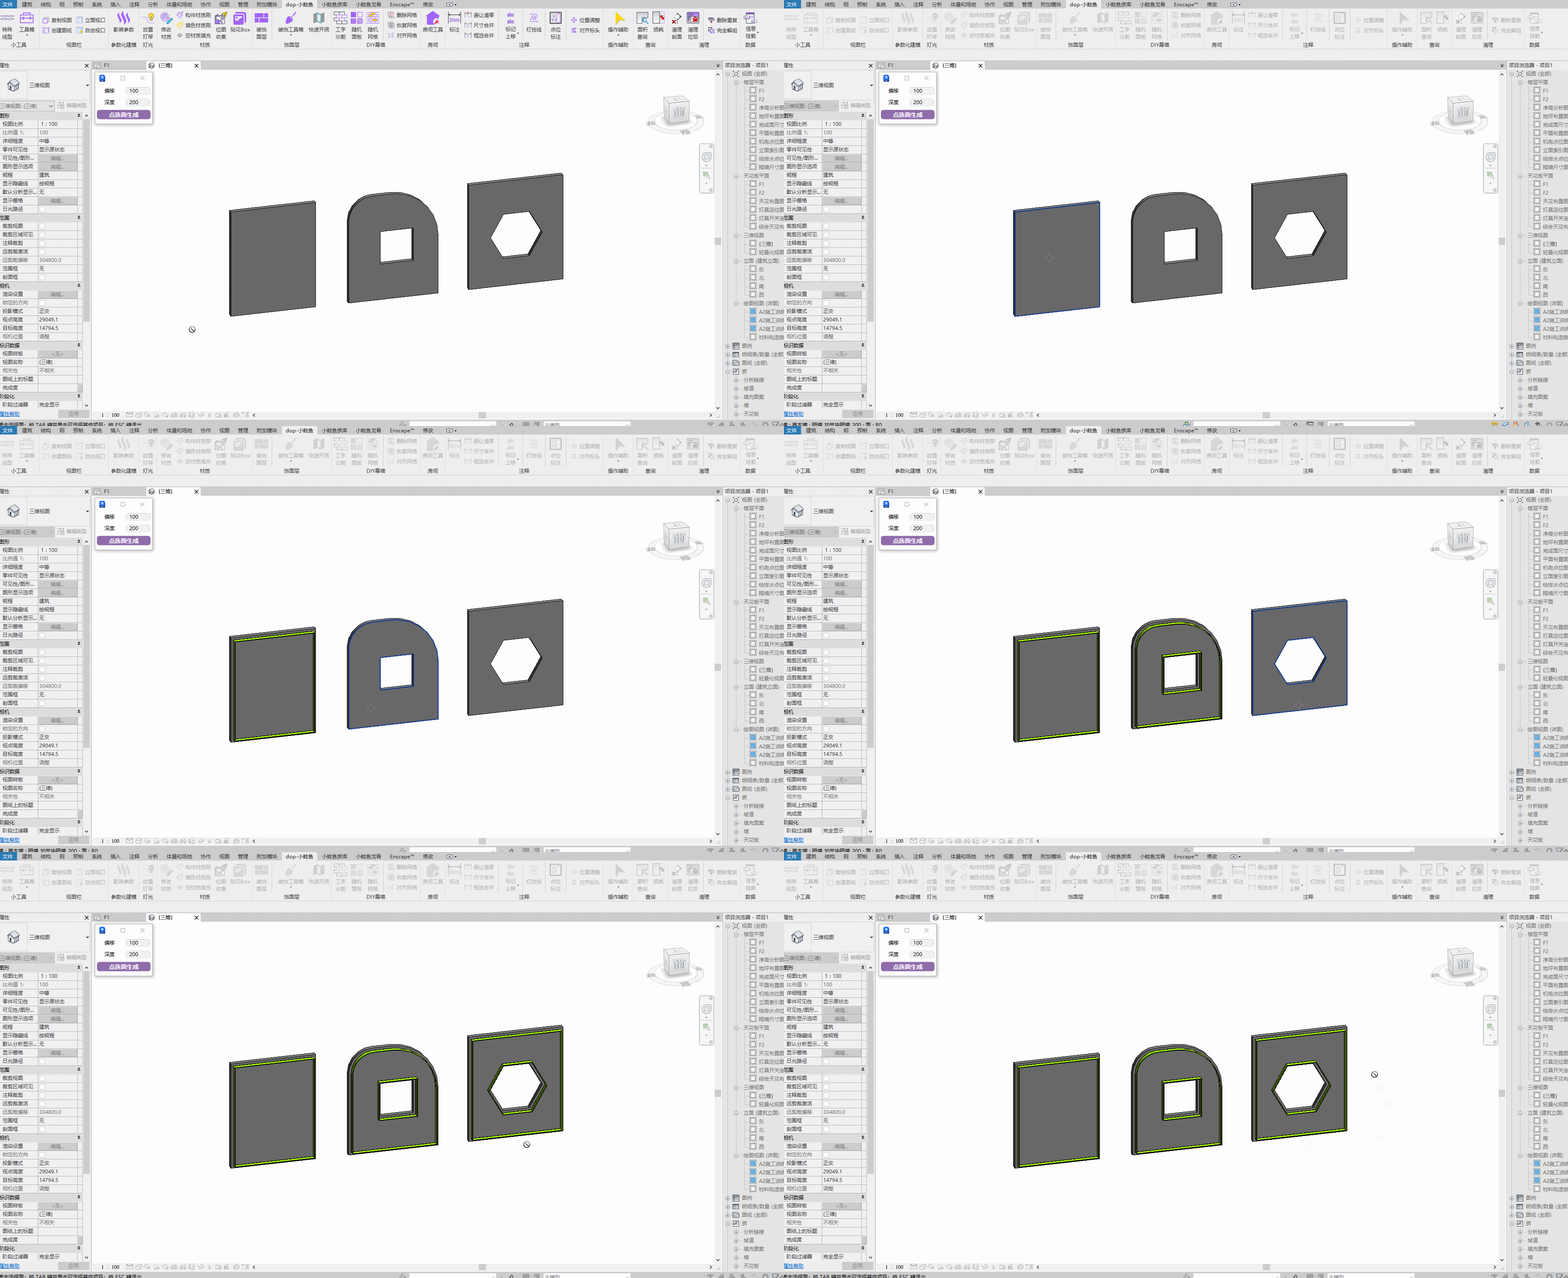
Watch tutorial video on Bilibili → Wall Edge (opens new window)
# Veneer
Apply veneer effect to selected surfaces.
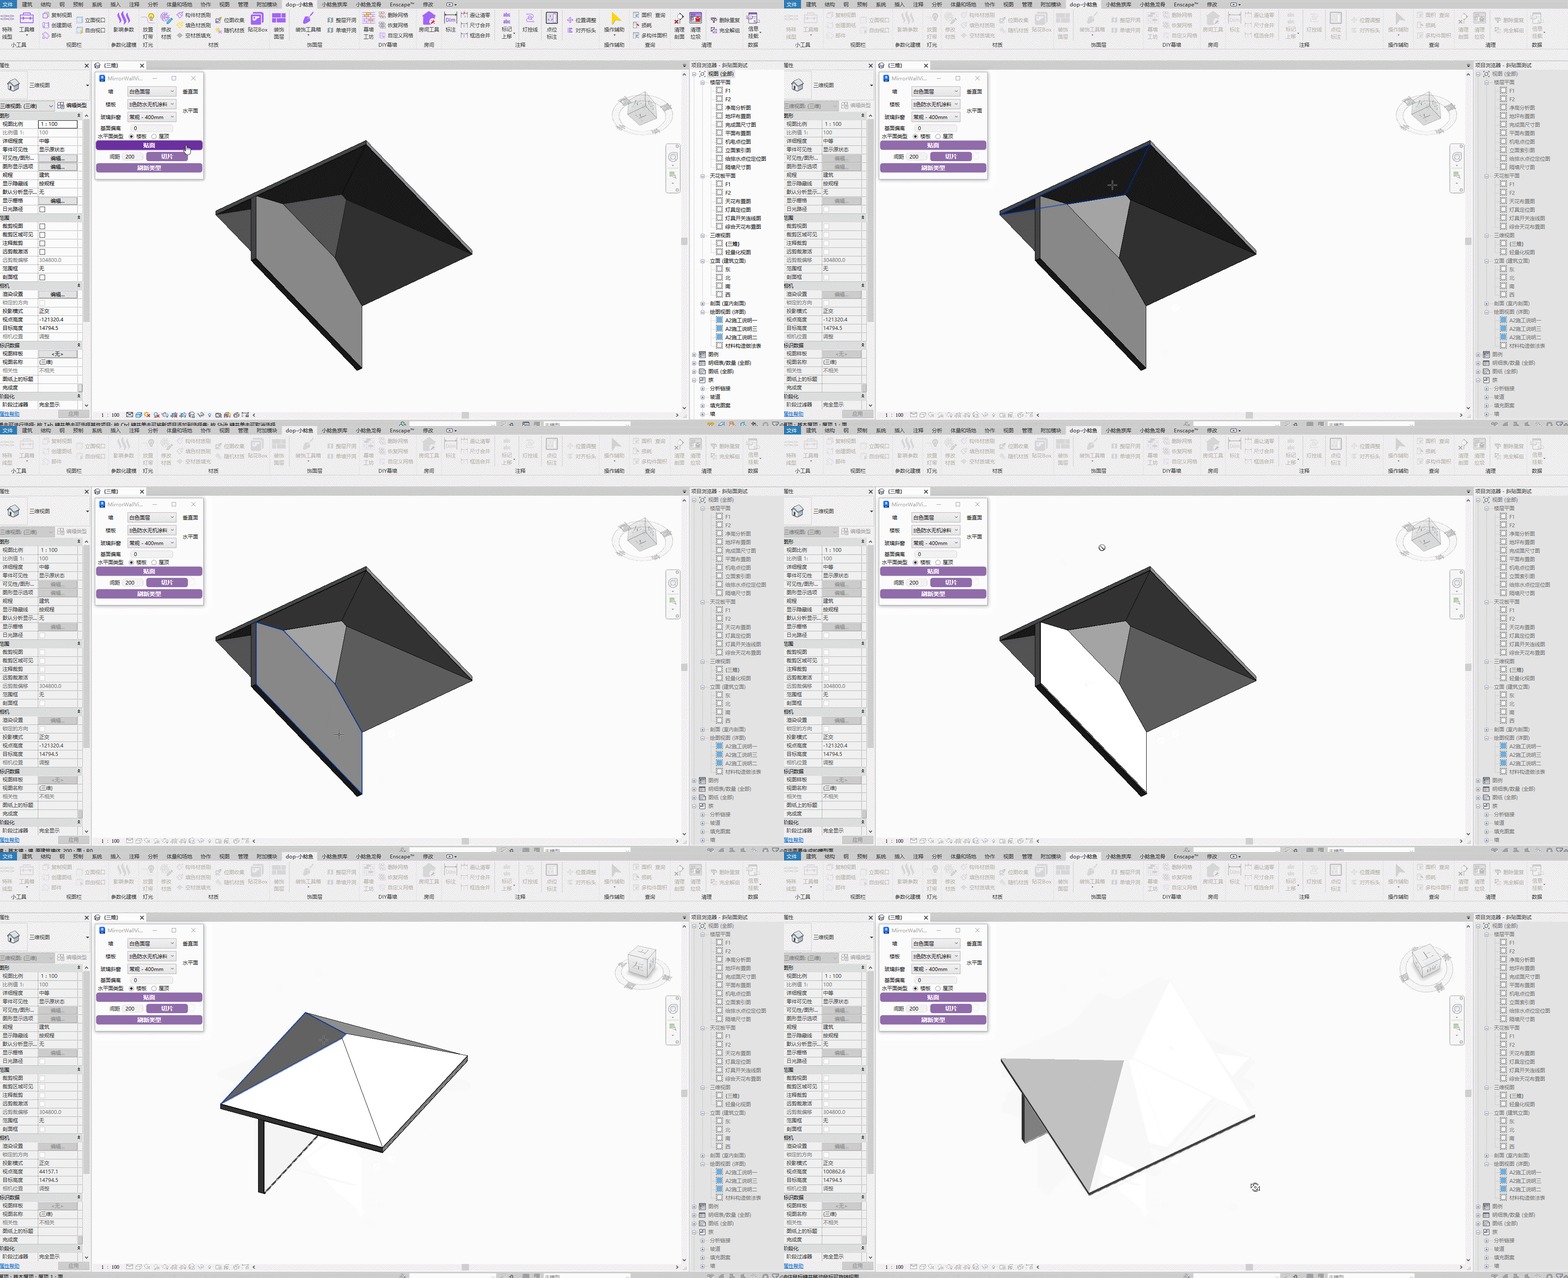
Watch tutorial video on Bilibili → Veneer (opens new window)
If roof creation fails, manually create a random roof in the project, then delete it. After that, run the plugin command again — it should work normally.
Combined with glass sloped glazing in roofs and curtain walls in walls, common tile joint requirements can be met without a complete room.
# Scraping / Bare Ceiling Spray
Note: Before operating, use the Room Parameter tool to adjust room heights to cover the area that needs scraping.
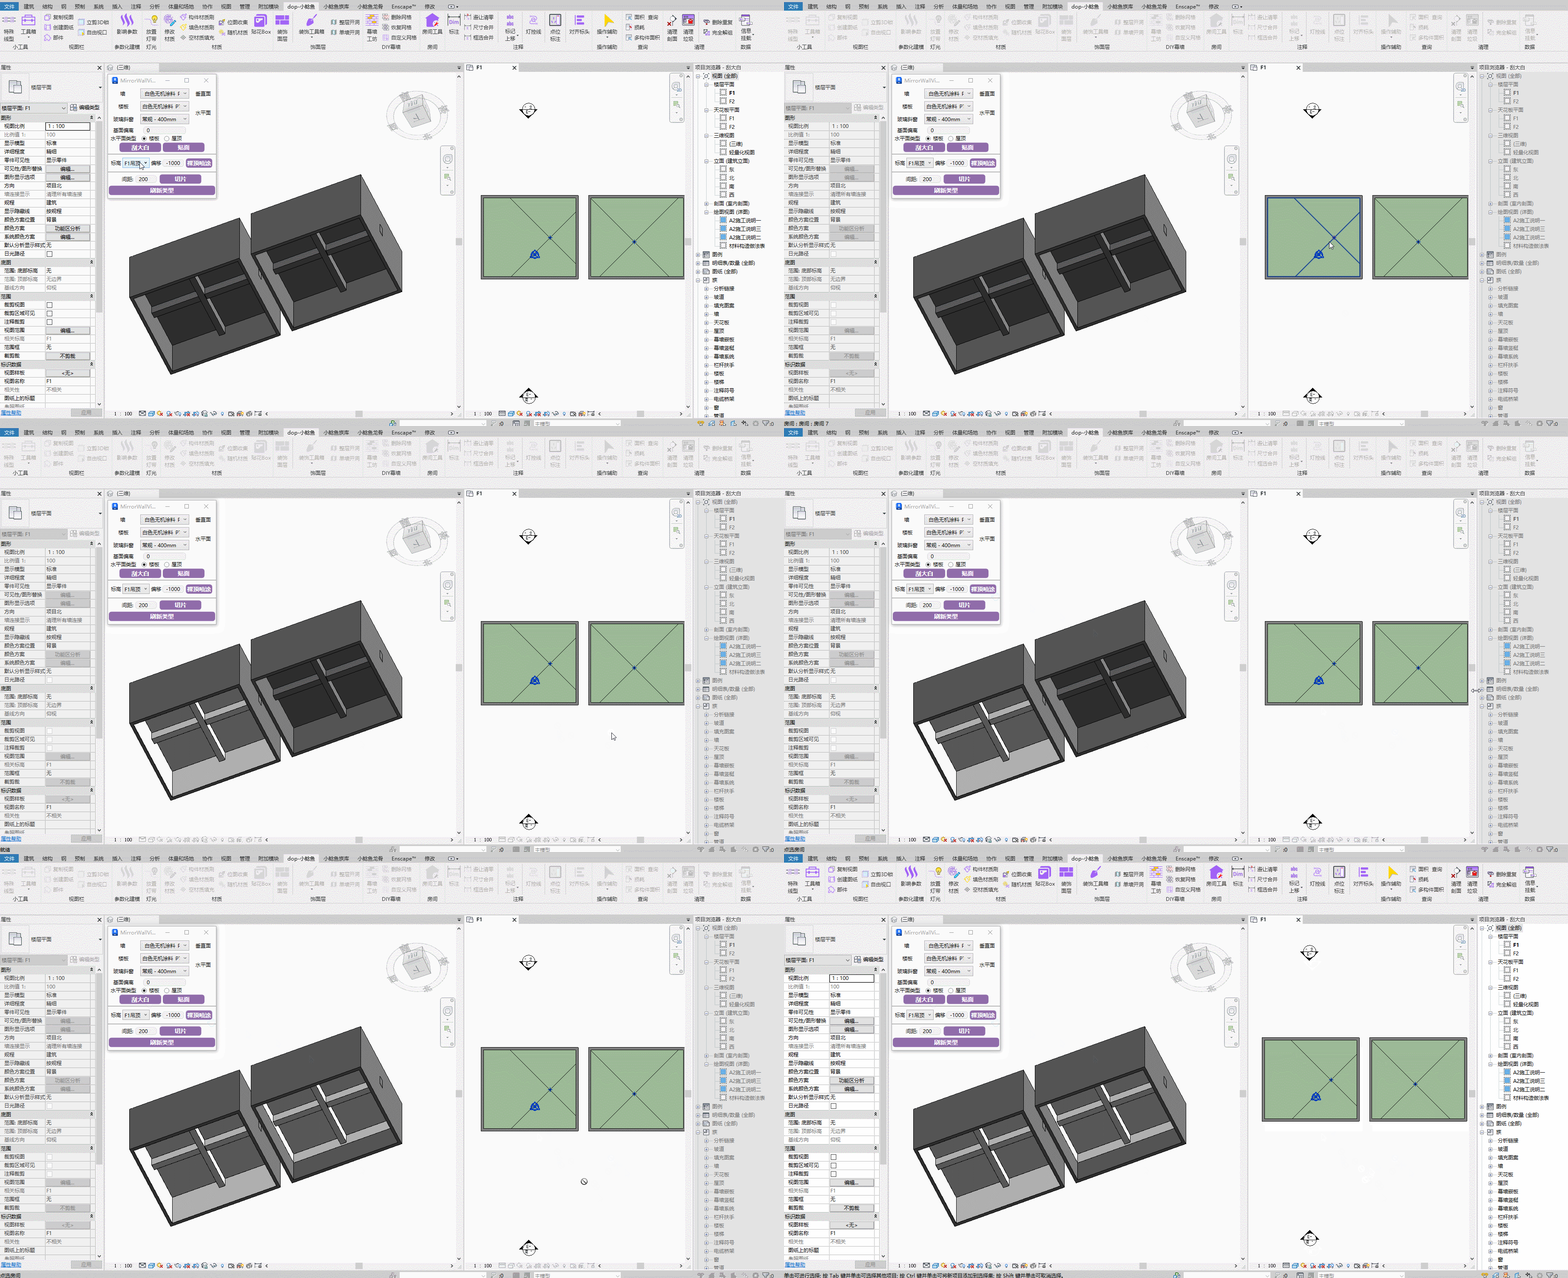
Bare ceiling spray
Steps: Select the corresponding horizontal and vertical elements → Set the starting level line for spraying → Click the Generate button.
Watch tutorial video on Bilibili → Scraping / Bare Ceiling Spray (opens new window)
# Slicing
Slice solid geometry.
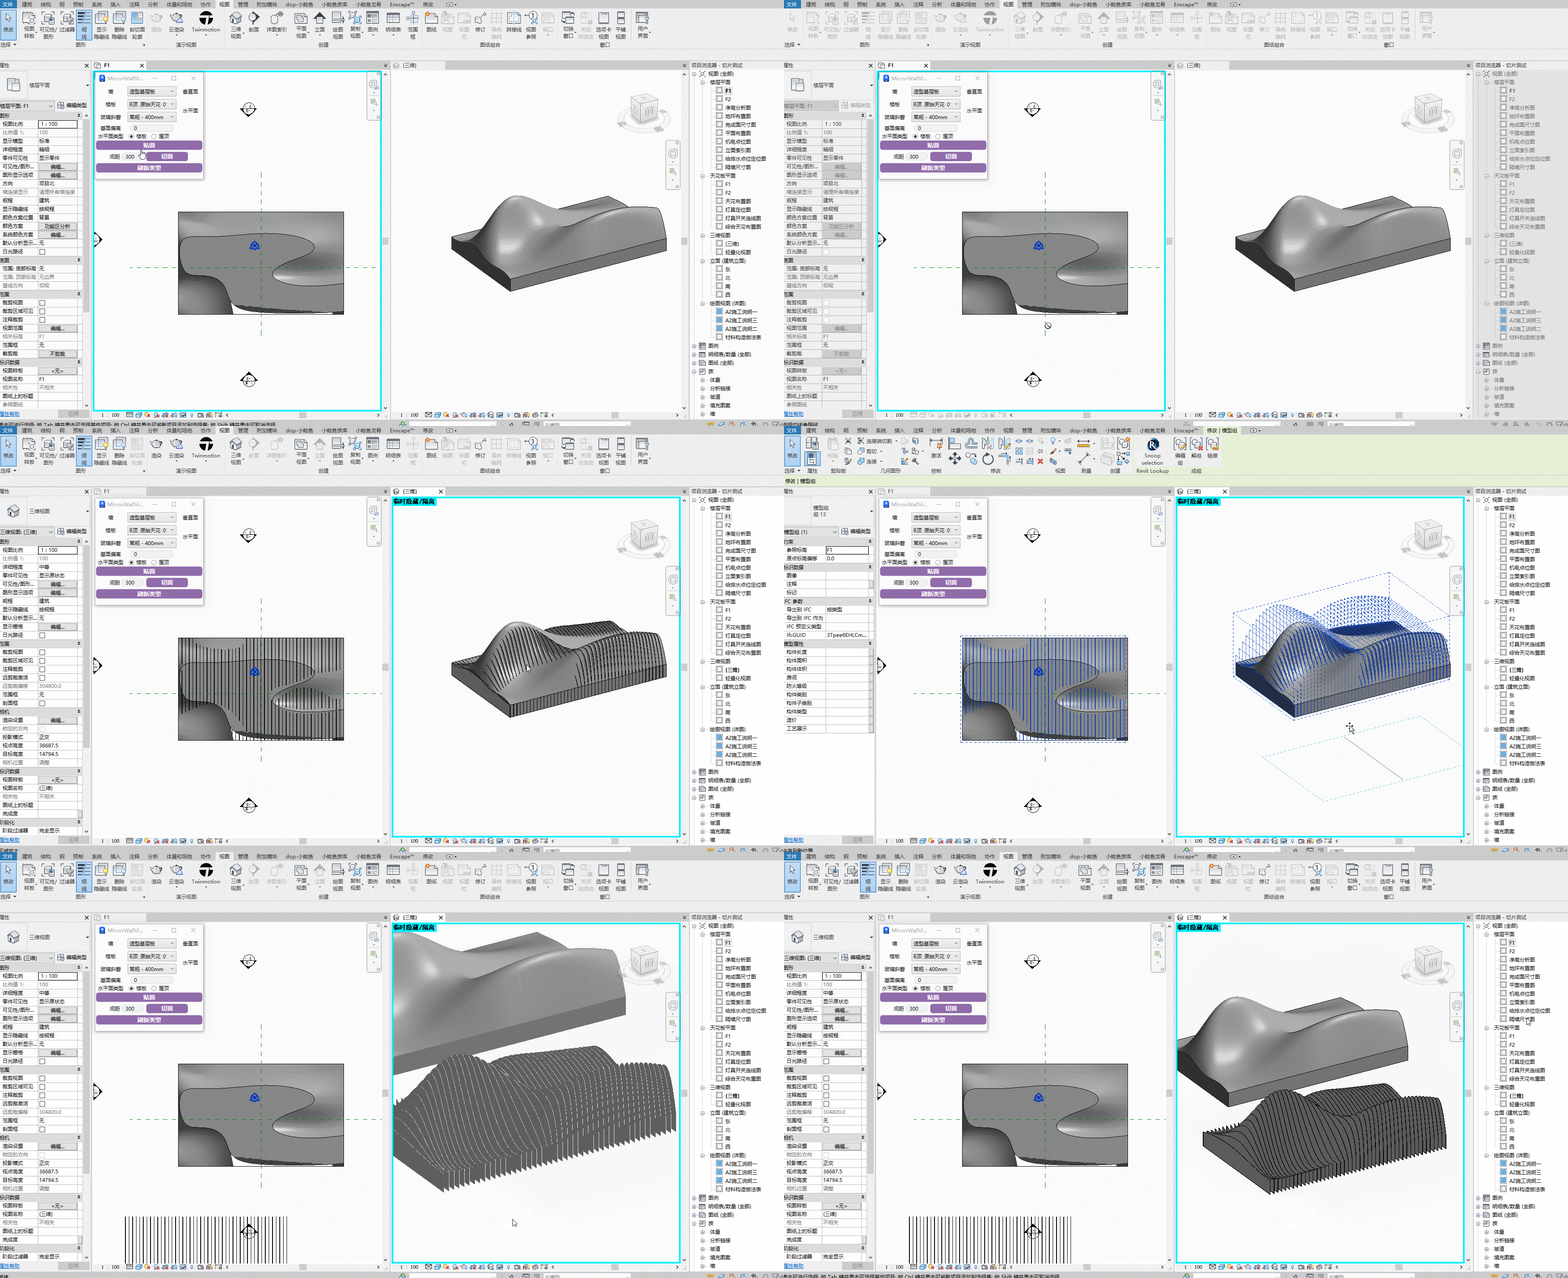
Steps: Select the main body → Select the drawn reference line.
Watch tutorial video on Bilibili → Slicing (opens new window)
# Floor Merge
Merge selected connected floors into a single unit. Mainly used for merging floor and threshold models.

Watch tutorial video on Bilibili → Floor Merge (opens new window)
Steps: Box-select the floors to merge. Can be operated continuously.
# Full-Floor Opening

One-click finish layer opening at door and window locations.
Note: May fail if the distance between finish layer and base layer is too large.
Watch tutorial video on Bilibili → Veneer & Finish Opening (opens new window)
# Single Wall Opening
Box-select to quickly create openings. Note: only box-select the wall segment that needs openings, not other wall segments. Compatible with common wall-based openings (e.g., doors and windows) and curtain wall types embedded in walls.